Happy Mother's Day to all the wonderful mothers!!!
Your heart is
like a garden
With the
gateway open wide,
And all who
will may enter,
Finding peace
and love inside.
There are
roses for remembrance
Of happy
by-gone days,
Forget-me-nots
that symbolize
Your
ever-thoughtful ways.
Shy violets
for your modesty
And pansies
for the tender thoughts
You always
have of others.
And from my
childhood, Mother,
My joys have
had their start
In that place
of truth and beauty--
The garden of
your heart.
(unknown
author)
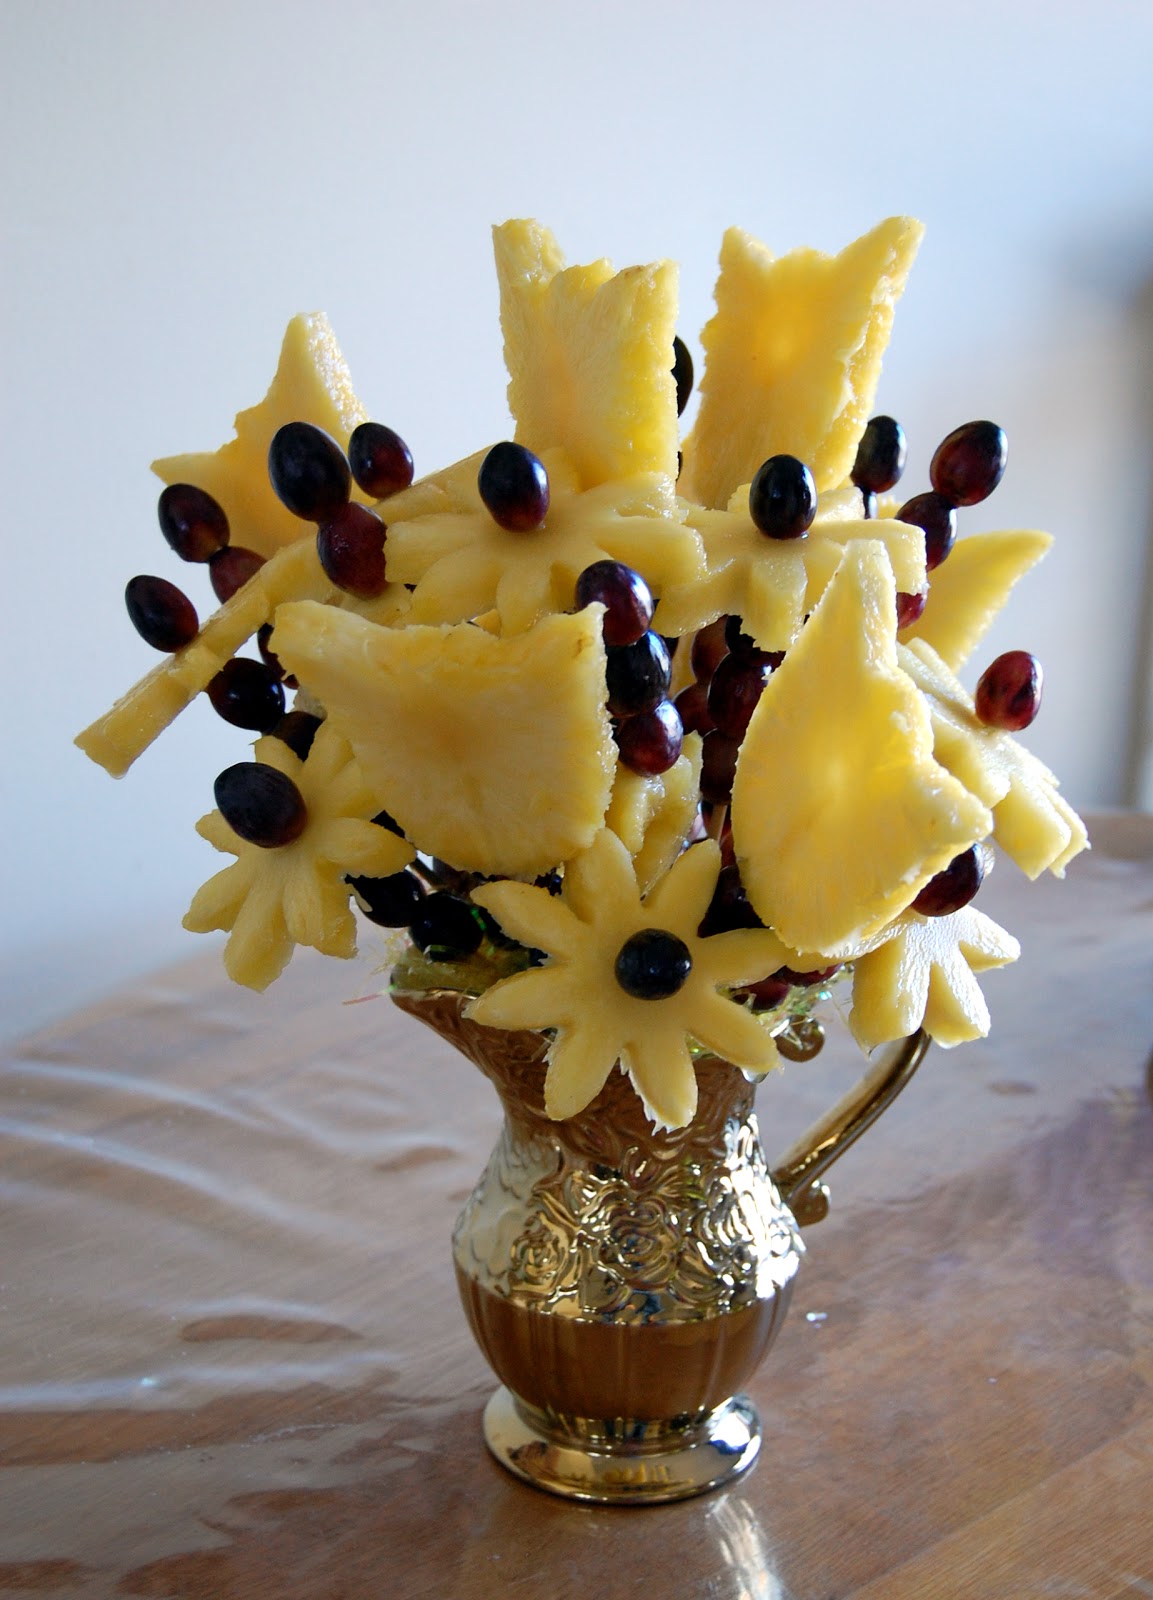
How about
adding a festive pineapple fruit arrangement to your celebration! This is supper easy to make and is wonderful
to give as a gift...not to mention delicious!
©
2
Pineapples: cut into 1/2-3/4 inch circles
©
1 1/2
pounds Red Grapes
©
Container
of choice
©
Foam:
preferably green in color
©
Decorative
grass/kale/lettuce/ or green tissue paper: to cover the foam
©
8
inch Wooden Skewers
©
Flower
cookie cutters-preferably not plastic
Directions:
1. Place foam into the container of choice. If
foam is moving in the container, secure with tape running across making an
"x." Cover foam with grass, green tissue paper or kale/lettuce:
secure kale/lettuce with toothpicks broken in half if needed.


2. Cut pineapple into circles 1/2 to 2/4 inches
thick. Using the cookie cutters- cut out
flowers: I used tulip and
"pointy" 8 petal daisy. My
cookie cutters are made from stainless steel: you can use plastic cookie
cutters if that is all you have, simply use a knife to cut out the flower.

3. Place pineapple flowers onto the wooden
skewers. Leave the daisy flowers without
a grape center for easier placement.
Start making the arrangement from the middle. The tallest flowers should be at the top,
keep working on it and it'll eventually start looking like an arrangement.


4. When all pineapple flowers are in, place
grape centers on daisy flowers. Fill
space between flowers with grapes on skewers and you're all done!
5. Serve immediately or refrigerate covered for
up to 6 hours. Making an arrangement
ahead of time but don't want the fruit to turn brown? Soak fruit flowers in ginger ale for 10
minutes (I hear any lemon-lime soda also works). The best thing, pineapple will still taste
like pineapple!

Who can find
a virtuous woman? for her price is far above rubies.
Strength and
honor are her clothing; and she shall rejoice in time to come.
She openeth
her mouth with wisdom; and in her tongue is the law of kindness.
She looketh
well to the ways of her household, and eateth no the bread of idleness.
Her children
arise up, and call her blessed; her husband also, and he praiseth her.
Many
daughters have done virtuously, but thou excellest them all.
Favor is
deceitful, and beauty is vain: but a woman that feareth the Lord, she shall be
praised.
Give her the
fruit of her hands; and let her own works praise her in the gates.
- Proverbs
31: 10, 25-31
Happy Mother's Day Everyone!!!


