Showing posts with label Main Dishes. Show all posts

Monday, February 27, 2012

Mushroom Stir Fry


This is one of our favorite mushroom stir fry recipes!  It is a sweet yet spicy dish with a whole lot of flavor!  You'll not miss the meat in this one!  The mushrooms add the "meaty" taste without the heavy aftereffect.  Even though the glaze and the sauce might make you think this is a complex recipe, don't let it fool you.  This delicious, yet simple stir fry is a perfect addition to any kitchen's repertoire during the cold winter days!  (This dish might be a bit too spicy for the younger members of the family) 

Serves 4

Ingredients: 
Stir Fry
©      1 lb mixed Mushrooms (oyster, crimini, button, shitake, enoki...whatever you like), quartered, or cut in strips...however you like your mushrooms in stir fries
©      3 to 4 cups Snow or Snap Peas
©      1 cup Broccoli Florets-cut into bite size pieces and cooked in microwave for 2 minutes
©      1/2 cup Baby Corn -optional
©      5 Garlic cloves-sliced thinly
©      8 Green Onions, cut into 1 inch strips
©      1 tablespoon grated Ginger
©      1/4 -1/2 teaspoon dried Chili Flakes
©      3 tablespoons Sesame or Grapeseed Oil
©      Toasted Sesame seeds for garnish-optional

Mushroom Glaze
©      1/3 cup Vegetable Stock (may use chicken broth)
©      1 tablespoon Honey
©      1 tablespoon Soy Sauce

Sauce
©      3/4 cup Vegetable Stock (may use chicken broth)
©      4 tablespoons Honey
©      3 tablespoons Soy Sauce
©      1 tablespoon Rice Vinegar
©      2 tablespoons cooking Sherry or cooking Wine
©      1 tablespoon Corn Starch (additional 1/2 teaspoon if you want a thicker sauce)

Directions:
1.  Make mushroom glaze in a small bowl by whisking all the ingredients together and set aside.  Make the sauce in a medium size bowl by whisking all the ingredients together, making sure the corn starch dissolves completely without clumps, set aside.


2.  Place 1 tablespoon of Sesame/Grapeseed oil in a large skillet or wok over high heat.  Add mushrooms when oil is glistening and gliding on sides of wok.  Cook mushrooms for about 2 minutes, stirring occasionally until they begin to give up water. 

3.  Add the glaze to the mushrooms and cook on high heat for 4-5 minutes, occasionally stirring until barely any more liquid remains.  Remove cooked mushrooms onto a plate and set aside.

4.  Return the wok to the stove.  Reduce the heat to medium and add the remaining 2 tablespoons of oil.  Add garlic, ginger, and chilies and cook stirring occasionally for about a minute; taking care not to burn the garlic.  Add peas, cooked broccoli, baby corn, and 2 tablespoons of water; mix and cover with a lid to "steam" the veggies for 2-3 minutes.  Cook less for crispier veggies. 


5.  Increase heat to high and add the sauce and green onions.  Allow the mixture to come to a boil.  The sauce will thicken slightly.  Add the cooked mushrooms back to the mixture and cook for another minute.  Take off heat and serve over rice garnishing with sesame seeds if desired.


Happy Monday veryone!  Blessings!


Inspired by: Simply Recipes

Monday, January 16, 2012

Split Pea Soup


I have been wanting to make some peas soup...I honestly could not remember the last time I had a bowl!  With the weather being so cold these days a thought of a warm soup is very welcoming!!  Instead of having a thin peas soup I wanted to make a thicker, richer kind...perhaps with a few extra vegetables to maximize the taste!  Here is how I created a richer variety of the simple split peas soup.  Plus, some REALLY exciting news at the end of this post!!! 


Ingredients:
©      1 cup split Peas- rinsed
©      1 medium Zucchini-cubed
©      1 medium Carrot-cubed (julienne for quicker cook time)
©      1 large Celery stalk-cubed
©      1 medium Potato-julienne (I used left over mashed potatoes)
©      1/2 cup Green Onions- thinly sliced (peas goes very well with green onions)
©      1/4 cup Parsley- snipped
©      1 clove Garlic-minced
©      4-6 cherry Tomatoes-diced: Optional
©      2-4 cups of water/Vegetable broth
       (add a vegetable cube to a cup of water to make a quick veggie broth)

©      1 teaspoon crushed Red Pepper Flakes
©      Herbal Seasoning-I use Herbamire
©      Black Pepper
©      Olive Oil
©      Salt


1.  If you have the time, cook the peas in a pot by placing peas in a pot and cover completely with water.  Bring the water to a boil and reduce head to a slow simmer.  Simmer peas for 35-45 minutes, add additional water if needed.  If you don't have the time, cook the peas in a microwave.  Using a large microwave safe bowl place peas in the bowl and cover completely with water.  Microwave on high for 14-20 minutes, add additional water if needed.  Peas should be soft and able to be mashed with a fork when done. 

2.  While peas is cooking:  Heat a soup pot over medium heat and add olive oil.  When the oil gets hot add the crushed red pepper flakes and cook stirring occasionally for about 30 seconds.  Add zucchini, carrot, celery, garlic, tomatoes, and potato (if using mashed potatoes-add to the soup when adding peas.)  Cook, stirring occasionally for 3-5 minutes.  Add  green onions and parsley at the last 2 minutes of cooking. 

3.  Mash cooked peas with a fork or potato masher, add a couple of tablespoon of water/vegetable broth if needed.  Add mashed peas (and mashed potatoes if using) to the soup pot.  Add a cup or two of  water/vegetable broth to reach a desired consistency.  Heat soup to a slow simmer.

4.  Add a small amount of spices:  black pepper, herbal seasoning, salt.  Now you can either leave your soup as is-chunky.  Or you can put it into a blender to make silkier.  I like to have it in between...to reach that I blended half of the soup in a blender and used a potato masher to coarsely mash the rest. 

5.  Taste soup and add additional spices as desired!  Add additional water/vegetable broth if needed.  I like to put additional green onions and red pepper flakes on the top of my soup... for that extra warmth!  Serve with a couple of slices of bread or some toasted tortillas!!


I hope you'll give this soup a try!  I believe this vegetable loaded peas soup is my new favorite from the peas variety!!


P.S.  Stay tuned...a "face lift" for my blog page is coming!  And for all of you quote and poetry lovers, there is a surprise in the making!!  

Is there a recipe you're yearning to see from my kitchen?  Perhaps an ingredient that you wish to see in "action"...email me, I would love to hear from you!!  My email is:  one sunny home (at) gmail (dot) com all one word, without spaces.  Hope to hear from you!  ~Blessings!

Monday, December 12, 2011

Stuffed Acorn Squash


As fall approached I searched to find a perfect recipe for stuffed acorn squash.  Something "meaty" without the meat!  As time went on, I thought to myself "why not create one!?!"  So I did!  The stuffed squash turned out really nice with the authentic fall/winter flavors and colors.  I was really pleased!!


Serves 2
©      1 medium-large Acorn Squash
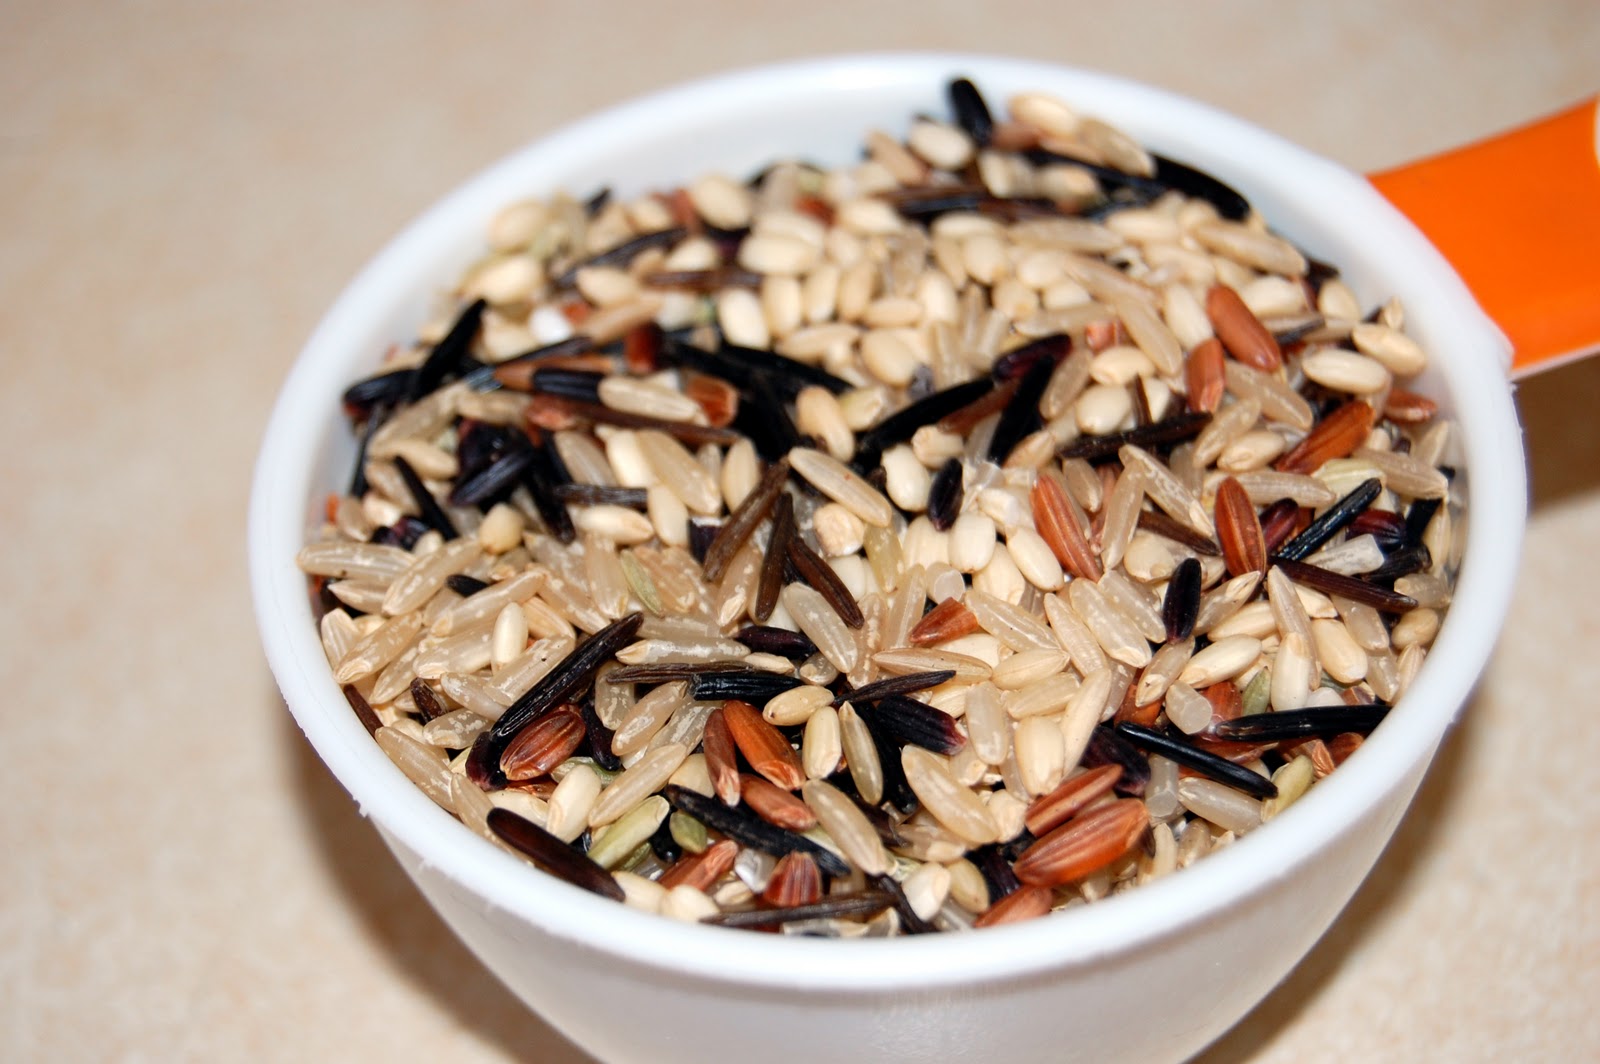
©      1/2 cup Wild Rice Mix
©      1 big Carrot-cut into small cubes
©      1 Celery stalk-cut into small cubes
©      1/2 small Onion-diced
©      Green Onions
©      1 Veggie Patty
©      1 teaspoon seasoning salt-I use Herbamire
©      Salt
©      Black Pepper
©      2-4 tablespoons Water
©      1 teaspoon Butter (Earth Balance)

Directions:
1.  Wash the squash and cut into two.  Scrape out the seeds (wash and bake the seeds for a tasty snack or a delicious topping for salad!)  Place squash halves, cut side down in a glass casserole dish with about 4 tablespoons of water.  Bake at 350 degrees F until flesh is soft: 25-35 minutes.


2.  Meanwhile, rinse rice in cold water.  Cook rice in a pot with 1 cup of water.  I like to add a small piece of kombu while cooking rice.


3.  While rice and squash are cooking, prepare your vegetables: carrot, celery, onion, green onions.  To add a "meaty" taste to stuffed squash I added a veggie patty, this really gives it a kick!  To make it simple, just use a store bought veggie patty: break it into small pieces.


4.  Using a skillet on medium-low heat with a tablespoon of olive oil, sauté vegetables and veggie patty for 4-6 minutes, until carrots are barely soft.  Add 2-5 tablespoons of water if needed to prevent from sticking.   

5.  Add cooked rice and mix well.  Season with seasoning salt, add additional salt and black pepper as needed.  Because everything is cooked through, feel free to taste the "stuffing" and adjust as needed. 


6.  At this point you're ready to stuff the squash with your "stuffing."  Another option is to carefully scrape out the soft flesh out of the squash and mash it into the stuffing; then scoop the stuffing into the hollow squash.  I left the flesh as is and added the rice stuffing: as on the pictures.  Depending on your squash size, you might have extra "stuffing."  You can eat it as it..it is delicious!  Or roast a bell pepper and stuff that!


7.  Place stuffed squash in to a glass casserole dish.  Add 1/2 a teaspoon of butter on top of squash if desired.  I think it helps "marry" all the flavors!  Return the casserole to the oven and bake at 350 degrees F for additional 20-30 minutes.  All the ingredients are cooked, they just need to "marry."


Serve with a simple green salad and your meal is complete!!  Enjoy! 

Friday, December 9, 2011

Tofu Stir-Fry


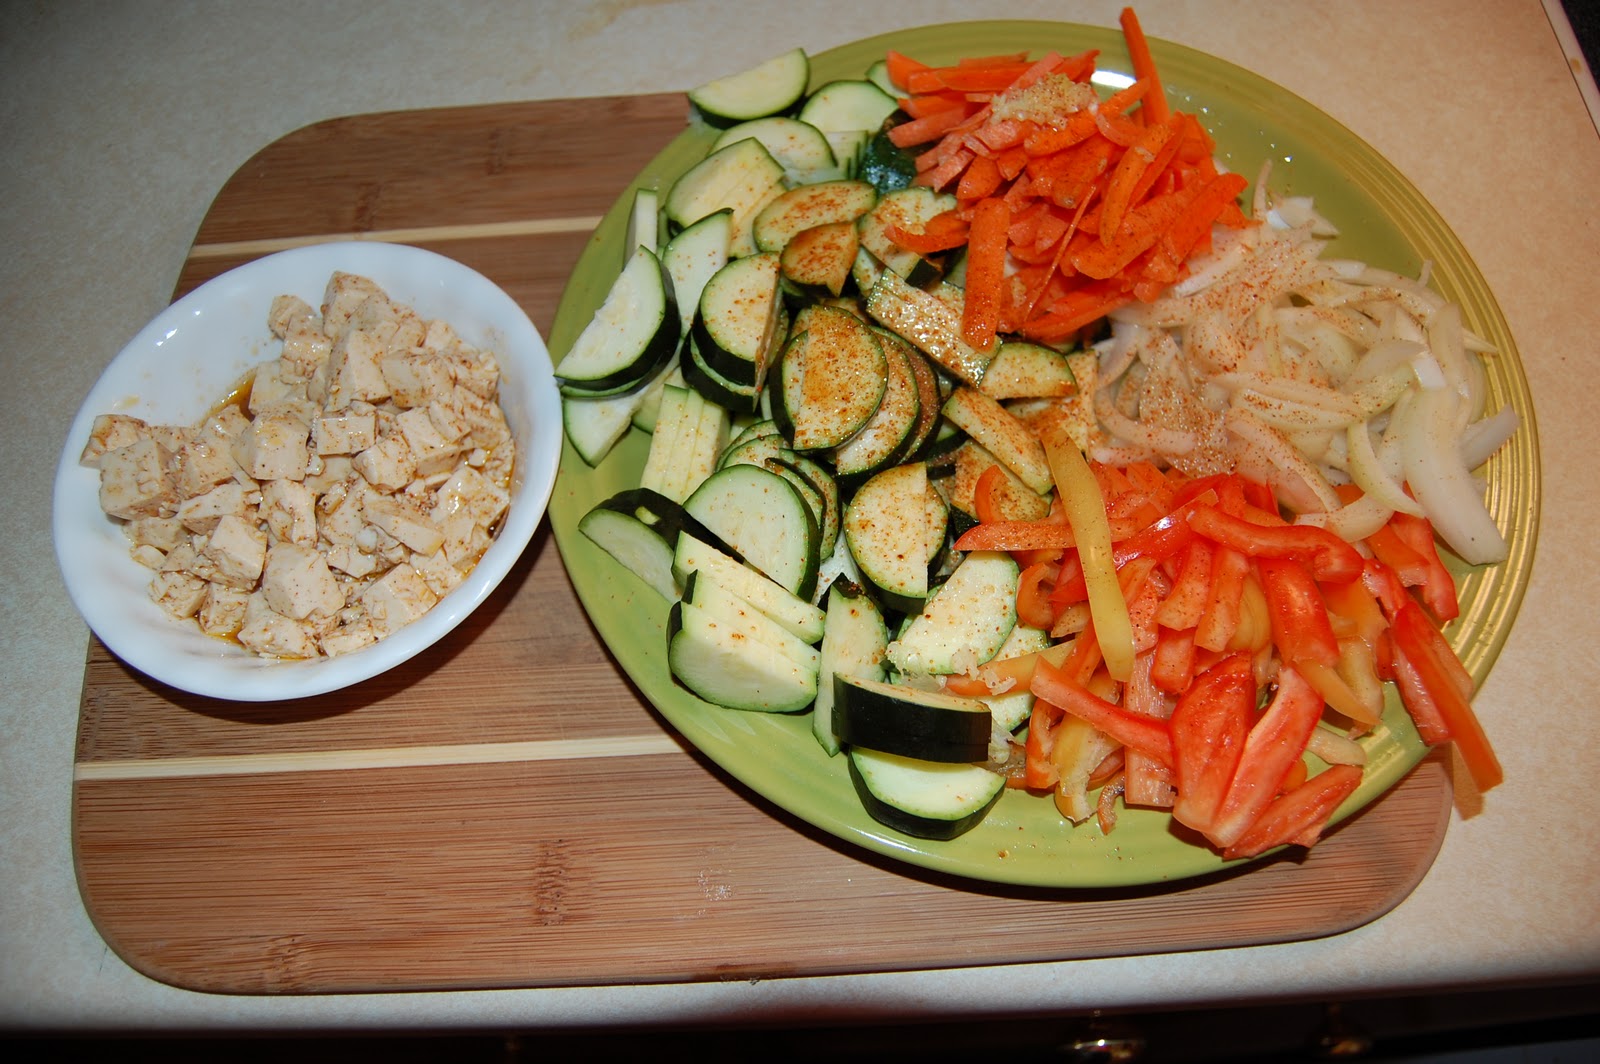
This is a simple yet delicious Tofu stir-fry!  I love stir-fry for its endless variations.  I made this one with a zucchini, onion, bell pepper, carrot, and corn...but feel free to experiment and try out different variations.  This is also wonderful over cooked rise, my two-year-old ordered spaghetti...so we had to come to a compromise!


Serves 4

©      12 oz Firm Tofu-cut into cubes
©      1 small Zucchini-cut in half circles
©      1 small Onion-cut in strips
©      1/2 big Bell Pepper-cut in strips
©      1 medium Carrot-cut in strips
©      3/4 cup frozen Corn Kernels
©      2 cloves Garlic-minced
©      Seasoning Salt


Marinade for Tofu:
©      2 tablespoons Olive Oil
©      Juice of 1/2 Lemon/Line
©      1 tablespoon Red Wine Vinegar
©      1/2 teaspoon Chili Powder
©      1/2 teaspoon Salt


Directions:
1.  Prepare marinade in a small cup and poor over tofu cubes.  Allow to marinade while you prepare the rest of the vegetables.

2.  Season cut vegetables with your favorite seasoning salt.  Heat your wok over high heat.


3.  Add marinated tofu (with marinade) into the wok and sauté for 3-5 minutes, until most of the juices evaporate; carefully mixing occasionally.  Transfer cooked tofu into a clean plate.  Leave the remaining oils/marinade in the wok.

4.  Add seasoned vegetables into the hot wok; sauté on medium-high heat mixing occasionally.  If needed, add a few tablespoons of lemon juice, soy sauce, or water.  You may want to cover with a lid and allow the vegetables to cook slightly:  5-7 minutes.

5.  When vegetables are cooked, yet a little crispy return cooked tofu to the wok and mix.  Remove from heat.  Serve over cooked rise or spaghetti.  Try sprinkling with fresh green herbs like cilantro or parsley, or add a little crunch with sesame seeds.  Add soy sauce if desired.      


I hope you will give this light, yet tasty simple stir-fry a try!  Happy Friday Everyone!!!


Saturday, November 26, 2011

Crispy Baked Potato


Looking for a easy dinner idea?  How about a baked potato with your favorite toppings?!?  This is not your ordinary baked potato with a saggy crust.  This recipe will give you a flavorful-moist potato flesh with a delicious, crispy crust.  My brother-in-law and his wife shared this wonderful recipe with me a couple of years ago and I haven't used a different recipe since!

I love the idea of a potato bar for a party.  Whether it's for bridal shower, small group dinner, baby shower, or a get together with friends.  It is a simple one plate meal that gives you, the hostess, the ability to socialize and have a good time!


Ingredients:
©    Baking Potatoes-I like to use Idaho baking potato
©    Butter Spread-any kind
©    Coarse Salt
©    Toppings of your choice...need some ideas?  See the bottom of the post.

Instructions:
1.  Wash potatoes using a vegetable scrub brush, wash well.

2.  Rub potatoes with your favorite butter spread: BlueBonnet/CountryCrock you can also use unsalted butter if you wish.  I like using LandOLakes all natural butter with olive oil.

3.  Sprinkle buttered potatoes with your favorite coarse salt.

4.  Place potatoes on a baking sheet lined with foil or use a glass casserole dish.  Do not wrap each potato in foil. 

5.  Bake the potatoes in a preheated oven at 450 degrees F for 45-65 minutes or until skin feels crisp but flesh beneath feels soft .

6.  Dress the baked potatoes with your toppings.


I sincerely hope you'll try this simple yet soooo delicious recipe!!


Here are some topping ideas:
©    Sour Cream
©    Butter
©    Cheese (melted cheese sauce or shredded)
©    Black Olives
©    Green Onions
©    Salsa
©    Chives
©    Bacon Bits
©    Sweet Bell Pepper
©    Cilantro
©    Chili (a recipe to come soon!)
©    Broccoli
©    Ham/Chicken/Turkey  cubes

Baked Potato with Steamed Vegetables

Saturday, November 19, 2011

Wholesome Pizza


Thinking of ordering some pizza?  Sure takeout pizza is quick but on average when compared with homemade it has more calories and can be expensive.  Did you know a national brand takeout will contain around 550 calories for two slices!  Homemade pizza will contain roughly 350 calories for two slices.  This recipe will give you a healthier, cheaper, and delicious alternative.  The aroma of this pizza dough is AMAZING!!  It is unforgettable and memorable to which your senses will want to come back to again and again.  The Italian herb mix is the secret!  The garlicky sauce is just right, not too overwhelming and yet has a kick to it.  Don't let the number of ingredients in this pizza scare you off!  For toppings I used red onions, black olives, baby mushrooms, tomatoes, and cheese: Daiya (mozzarella).   

Pizza Dough
©      2 teaspoons Dry Active Yeast
©      300 mls Warm Water (100-110 degrees F)
©      1 teaspoon Salt
©      1 teaspoon Italian Herb Mix (recipe to follow)
©      1 tablespoon Sugar
©      1 cup Whole Wheat Flour
©      1 cup All-Purpose Flour (use additional 1/2 cup if needed)
©      Olive Oil

Toppings of Choice

Italian Herb Mix
©      1 teaspoon Garlic powder
©      1 teaspoon Salt
©      1 teaspoon Hot Pepper flakes
©      1 teaspoon Rosemary -fresh if possible
©      1 teaspoon Thyme -fresh if possible
©      1 teaspoon Onion powder
©      1 teaspoon Onion flakes
©      1/2 teaspoon Black Pepper
©      2 teaspoons Sugar
Tomato Sauce
©      1 can (8oz) Tomato Sauce
©      2 tablespoon Parmesan Cheese
©      1 tablespoon fresh ground Garlic
©      2 teaspoons of Italian Herb Mix

Directions: 
1.  Prepare the tomato sauce:  mix well and allow the ingredients to "marry" in the refrigerator for at least 20 minutes. *The sauce is a bit spicy: if preparing for younger children, leave a few tablespoons of the plain Tomato Sauce and allow them to create their own "mini pizza!"
My son helping out :-)

2.  Prepare the Italian Herb Mix by mixing all the ingredients together.  This can also be done ahead of time: keep in an air time container.
3.  Prepare the crust in your mixer bowl using the dough hook.  Or simply knead the dough by hand. 
4.  Using a whisk, combine dry Yeast and warm water.  Let stand for a couple of minutes.  Add salt, Italian Herb Mix, and sugar; mix well and allow to stand for a couple of minutes.
5.  Add flour and knead until an elastic ball forms.  Transfer the dough into an oiled bowl, cover with oiled clear plastic.
6.  Place in a turned OFF Oven with lights ON to let it double in size.  Knead the dough down, and allow to double in size again if time allows.
7.  Roll out the dough into a circle or square, who said pizza has to be round :-)  Make thick or thin crust.  Brush the rolled out crust with Olive Oil, spread Tomato Sauce, sprinkle with cheese, add desired toppings and finish off with a layer of cheese. 


8.  Bake at 450 degrees F until cheese starts to turn slightly golden, about 20-35 minutes:  longer time is needed if you are using meat toppings   


My son's mini pizza.

I hope this will encourage you to try a homemade pizza and have fun making it!  Save money and invest in your health!  May you and your loved ones be well nourished!


Italian Herb Mix inspired by Chef Tomatza